Make a statement of your own
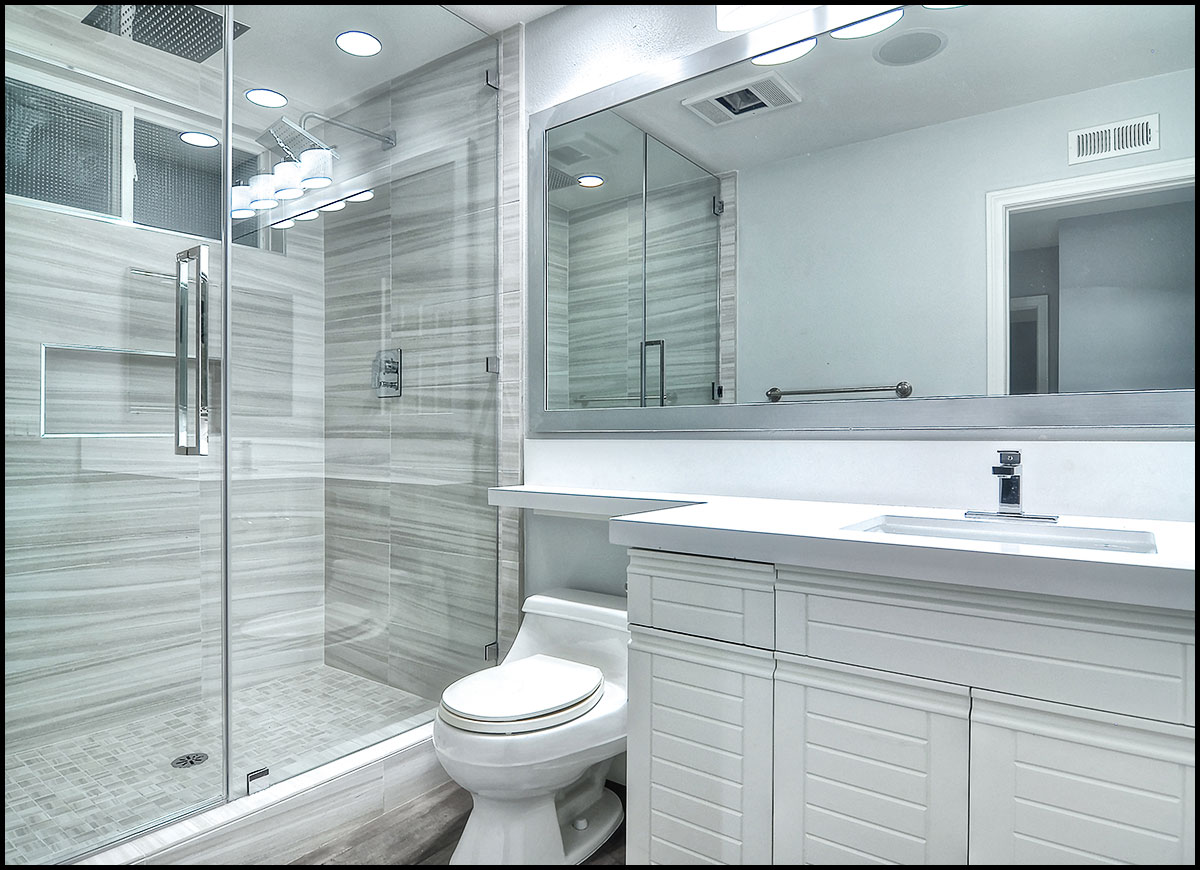
A revolution in creativity and technology has raised countertops to a new level of prominence in contemporary room design. Whether stone, porcelain or ceramic, the elements of fashion and functionality are served with equal style. And with the skillful touch of our design specialists, every detail contributes to a lasting impression of beauty and statement.
Discover new elements of style for your kitchen and bathroom
From traditional to modern, let us help you create the kitchen or bathroom of your dreams. We offer a full selection of top-quality countertops, and we arrange expert installation from licensed, insured, courteous in-house installers. Our competitive price includes design consultation, site preparation, and installation.
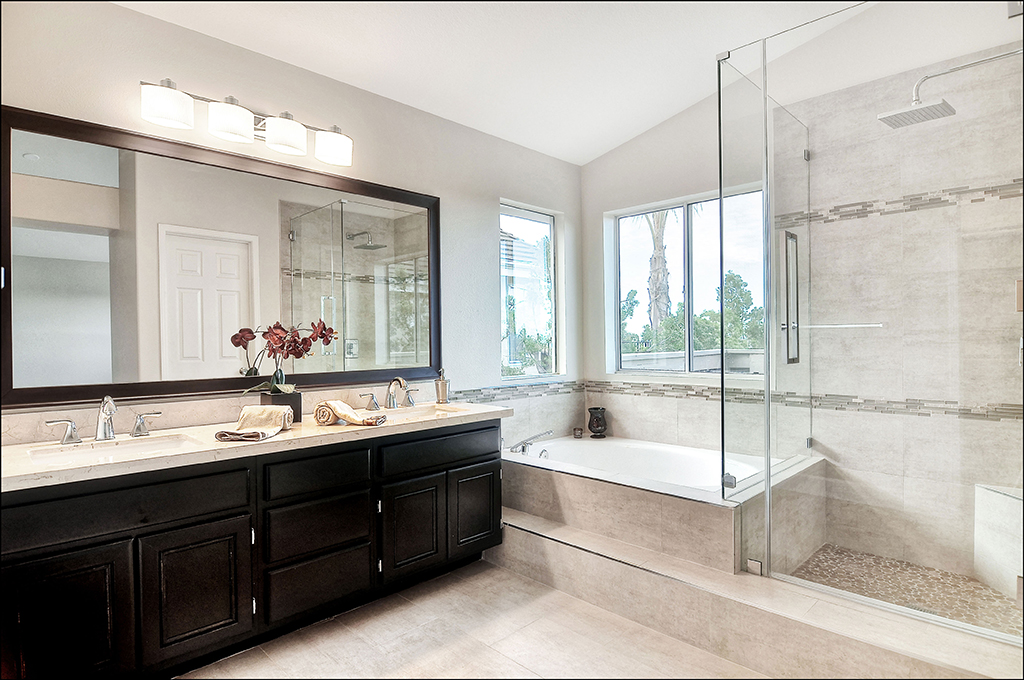
The tile on the tub splash is a perfect place to coordinate other tiles in the room. These tiles can coordinate with the tile on the floor, the shower, the walls or the sink splash. Whether your tub says, “Calgon, take me away” or is simple a place to take a bath, it’s usually a focal point of the bathroom, so why not make it special?
Considerations:
- Before determining the tiles and design for the sink backsplash, measure the mirror height to make sure the mirror can be mounted above the tiles where you can still see your reflection in the mirror!
- Take into consideration any windows that are behind the tub before planning your tile design.
- Choosing to mix different tiles to create a pattern in encouraged, but be careful about mixing tiles with different thicknesses. Check with your tile designer or tile setter to see if your choices will work together for a smooth installation.
- One of the first things to take into consideration when choosing a tile for a tub is the size. Larger tiles help make an area appear larger, but if you only have a few inches around the perimeter of the tub a large format tile will be too large. It is best to find the balance between the size of the tile and the size of the space being covered.
- If using tile with a whirlpool tub an access panel is necessary to keep from having to tear off the front of the tub in the event the motor needs to be accessed for repair
Options:
- Tile the top of the tub where the candles and soap also called the “tub deck”
- Tile the front of the tub called the “tub front”
- Tile the walls behind the tub called the “tub splash”
- Finishing the tile – be sure to find out if the tile you select has a coordinating bullnose to finish off the edges of the last piece of tile.
- Consider if your tile choice looks better with small or larger grout lines.
- Using a sealer for your grout to help prevent mold and mildew issues
Decorative Design Options:
Tub splashes are not only decorative, but functional for protecting the walls from water splashing behind the tub. You only need a small amount of space tiled to protect the walls, but you have the option to be more decorative than what it necessary.
Decorative design options are:
- Tiling higher than splash height around all three walls, but not wainscot or full height
- Wainscot height tile on all three walls
- Tiling regular height on two walls and tiling full height on an accent wall
- Tub to ceiling height on all three walls
- Tub to ceiling height on all three walls with a decorative picture frame
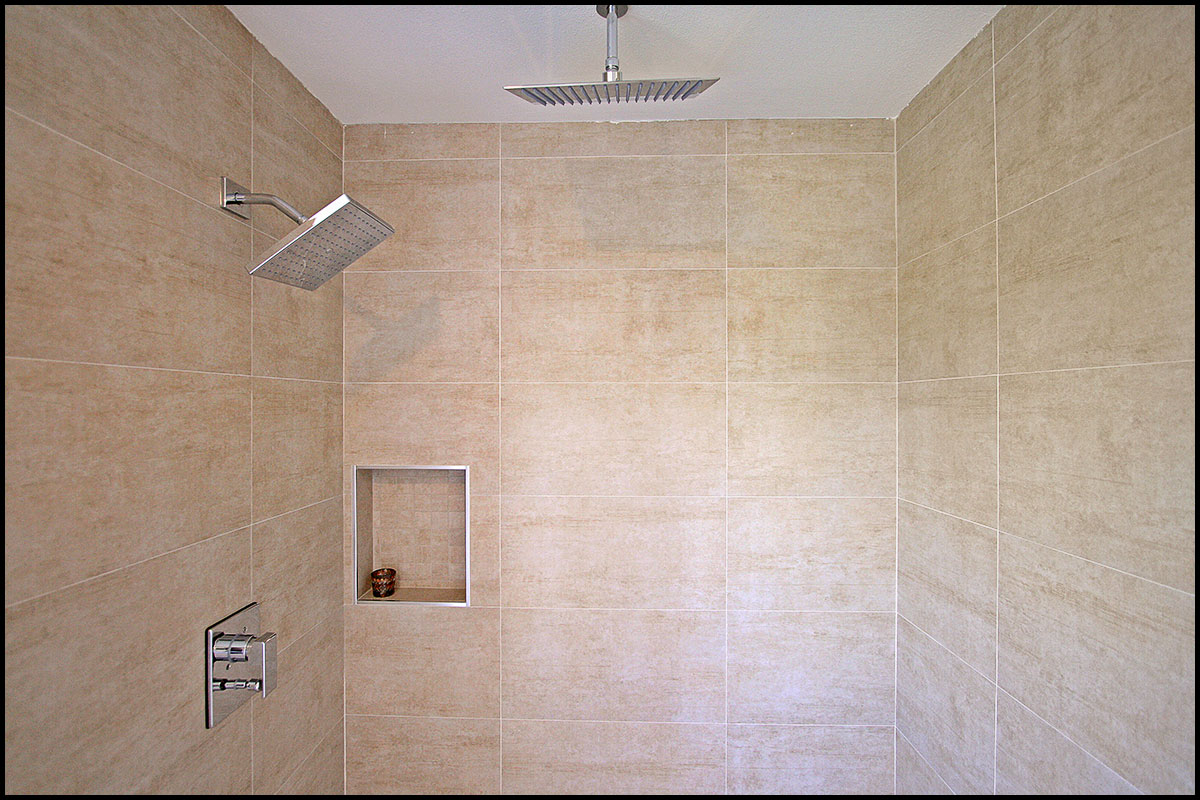
Tub to ceiling height on all three walls with a recessed niche built into the wall for soap and accessory storage - For a small and functional splash, use one tile either laid straight or on the diagonal and cap it off with a bullnose piece or decorative listello
- Often, the tub front is made from wood, it is acceptable to have a wood front with a tile top and splash.
The tile on the tub splash is a perfect place to coordinate other tiles in the room. These tiles can coordinate with the tile on the floor, the shower, the walls or the sink splash. Whether your tub says, “Calgon, take me away” or is simple a place to take a bath, it’s usually a focal point of the bathroom, so why not make it special?
Considerations:
- Before determining the tiles and design for the sink backsplash, measure the mirror height to make sure the mirror can be mounted above the tiles where you can still see your reflection in the mirror!
- Take into consideration any windows that are behind the tub before planning your tile design.
- Choosing to mix different tiles to create a pattern in encouraged, but be careful about mixing tiles with different thicknesses. Check with your tile designer or tile setter to see if your choices will work together for a smooth installation.
- One of the first things to take into consideration when choosing a tile for a tub is the size. Larger tiles help make an area appear larger, but if you only have a few inches around the perimeter of the tub a large format tile will be too large. It is best to find the balance between the size of the tile and the size of the space being covered.
- If using tile with a whirlpool tub an access panel is necessary to keep from having to tear off the front of the tub in the event the motor needs to be accessed for repair
Shower Surround
Considerations
- One of the first things to take into consideration when choosing a tile for a tub or shower is the size. Larger tiles help make an area appear larger, but if you only have a 3’ wall a 20×20 tile will be too large. It is best to find the balance between the size of the tile and the size of the wall being covered.
- If you choose a decorative pattern for your tile, consider where your plumbing valves will end up. You don’t want a body spray to end up right in the middle of your decorative accent!
- If you choose a large format wall tile for your shower, you will need a coordinating tile for the shower floors that is small enough to be able to make the pitch on the shower floor. Typically, 4×4, 6×6 or mosaic tiles work best, depending on the size of the shower.
- If you are implementing a design element into a shower or tub/shower that you want to feature, consider that a clear frameless shower door will show off that accent the most and a shower curtain will hide it the most.
- Choosing to mix different tiles to create a pattern in encouraged, but be careful about mixing tiles with different thicknesses. Check with your tile designer or tile setter to see if your choices will work together for a smooth installation.
Options
-
- Run the tile all the way up to the ceiling or stop around 8’ above the finished floor height.
- If you choose a decorative pattern for your tile, consider where your plumbing valves will end up. You don’t want a body spray to end up right in the middle of your decorative accent!
- Finishing the tile – be sure to find out if the tile you select has a coordinating bullnose to finish off the edges of the last piece of tile.
- For a tub/shower you will have the choice to stop the bullnose or finishing element at the top of the tub or continue running it to the floor.
- Consider if your tile choice looks better with small or larger grout lines.
- Using a sealer for your grout to help prevent mold and mildew issues
Decorative Design Options:
-
- Set the tile square or straight lay with no added options
- Set the tile at a 45 degree angle or on the diagonal
- Set the tile with a brick joint or running bond pattern
Add a decorative listello at the top, bottom or eye level (straight or diagonal lay) - Clip the corners of the tiles turned on the diagonal and insert a decorative “dot’ made from tile, metal, glass or stone
- Alternate colors to make a checkerboard pattern
- Mix some of the elements above and set the tile straight, but turn one row at eye level on the diagonal. This can be outlined with a listello at the top and the bottom of the diagonal band or a decorative dot can be inserted in between the diagonal tiles
- If you have a large enough wall, add a feature like a decorative picture frame. This can be created with a listello as the frame and it gives you the option of the choices listed above to accent the interior.
Accessories
- In your shower you can add a corner seat or shower bench, towel bar, soap dish, corner shelf or recessed niche
- Some shower drains are offered in round or square shapes and a variety of colors that can be matched or coordinated to your shower valve colors.


